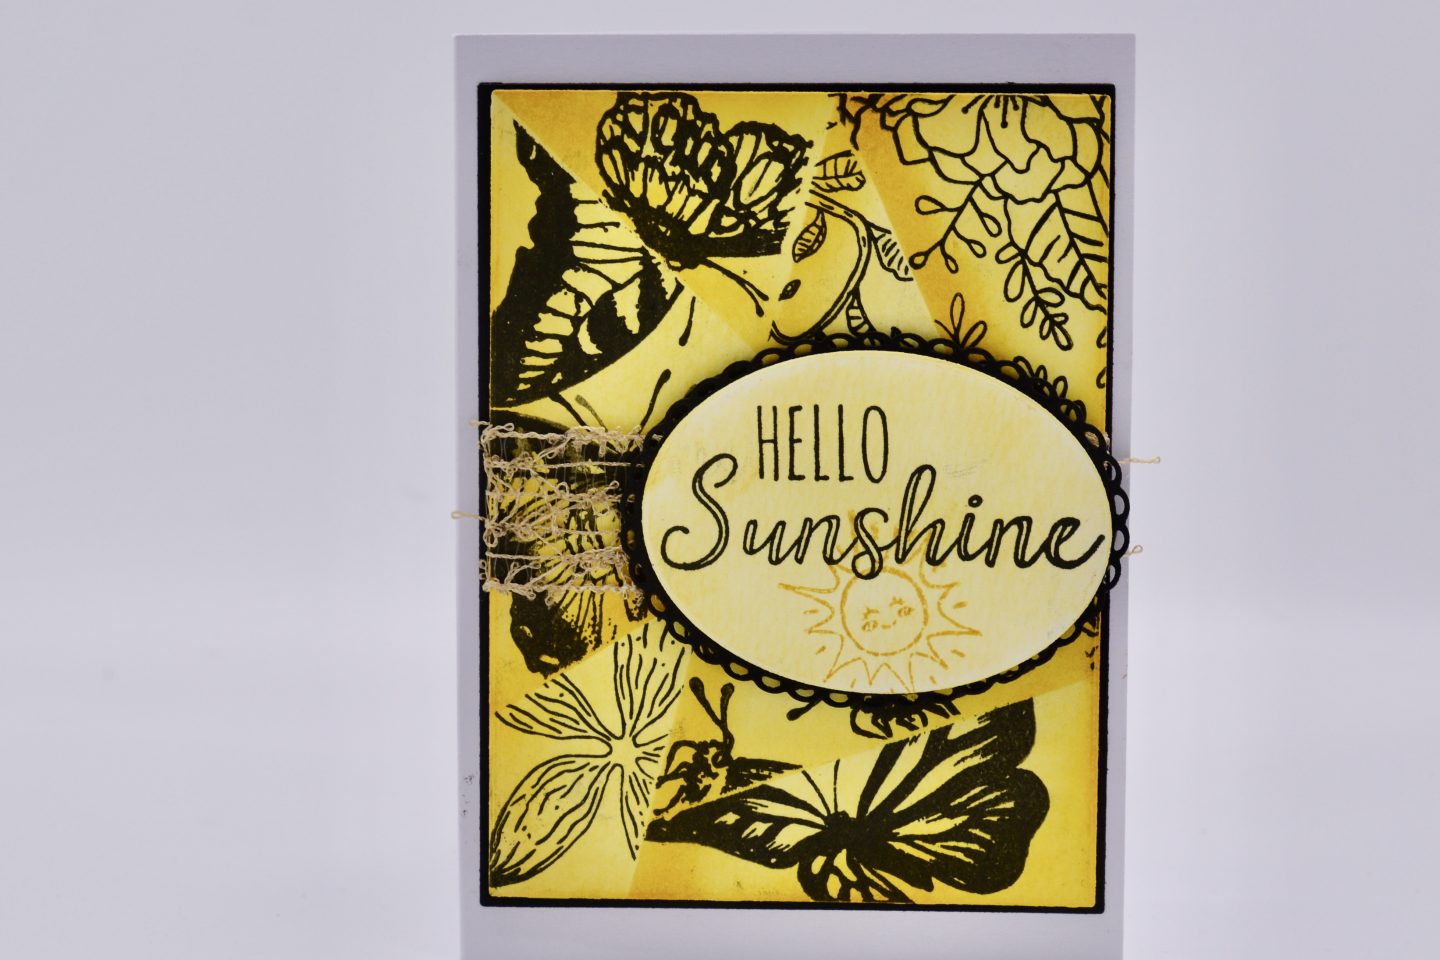
Hello fellow crafters! I am going to continue the experiment with the retiform technique. In my last blog I spoke about this and this time we are taking it a step further. Now to do a quick recap, what is retiform? Retiform card is composed of crossing lines and interstice. And by all means, this is not a new technique. If you search the Internet, you can find many examples. I got inspired to do this beautiful card and I’m happy to share the result with you.
At the end of this blog you can find a full list of supplies that i used.
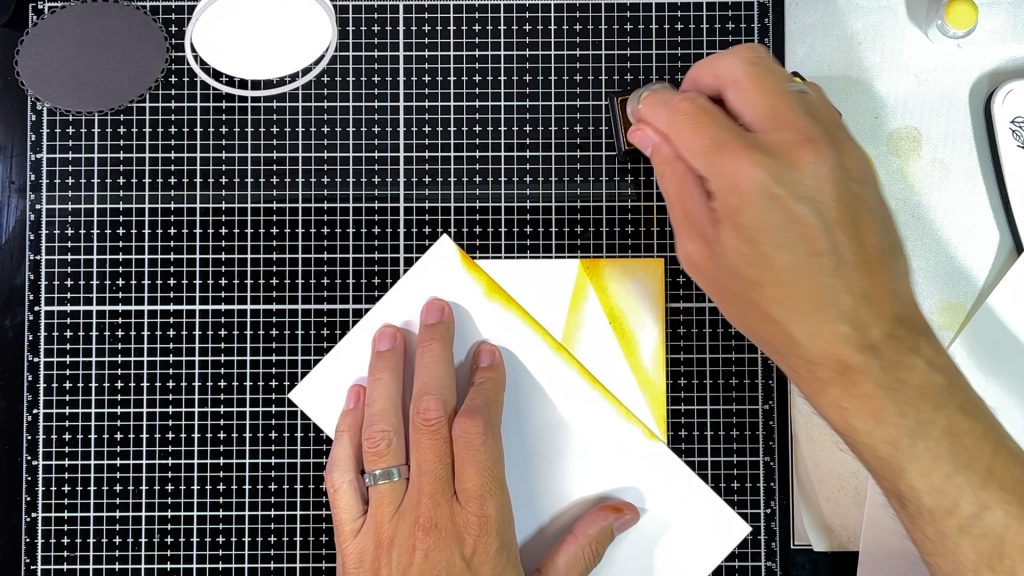
I started out by using a piece of scrap paper to mask off where I wanted the first line. Then I took a finger dauber to start the line. Heavy on the edge with the masking paper and then blended it out, making sure the lines were crossing and giving me different shapes to stamp in to.
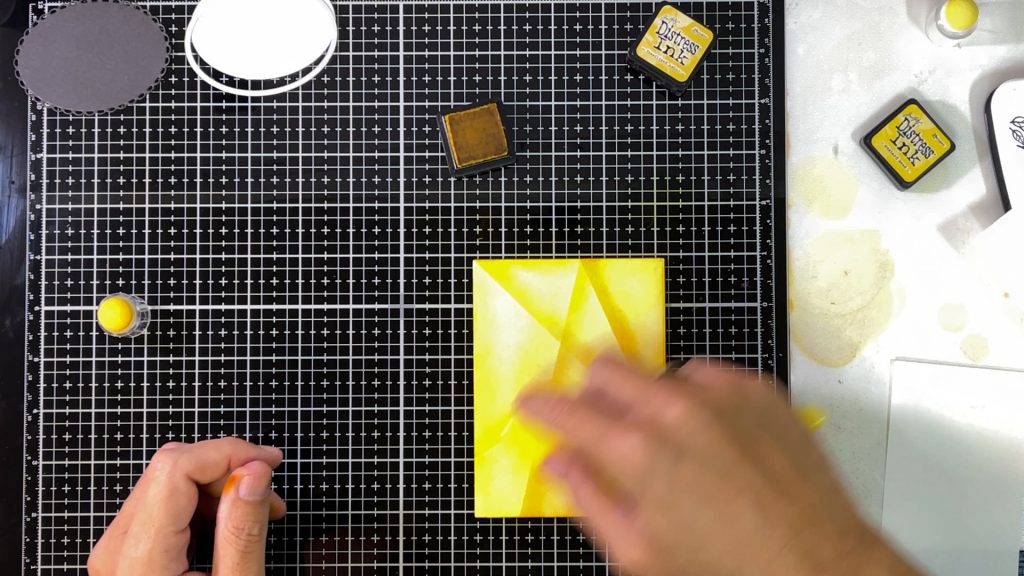
When done with the first color I went over the whole piece of cardstock with a blending brush and a lighter shade of yellow. This brought everything together and gave it a soft, blended look.
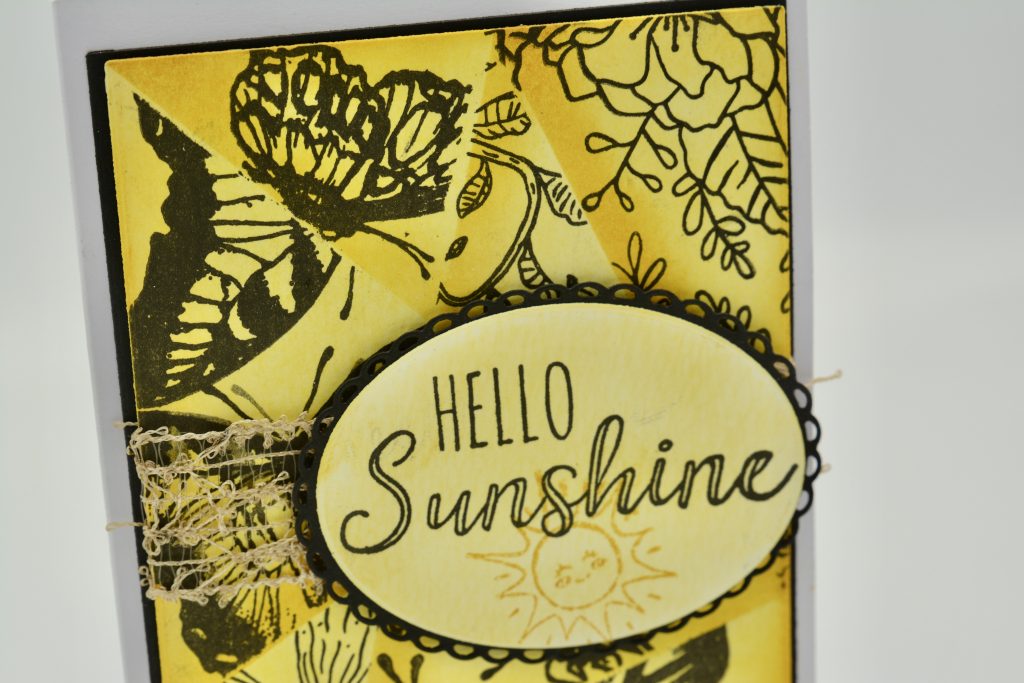
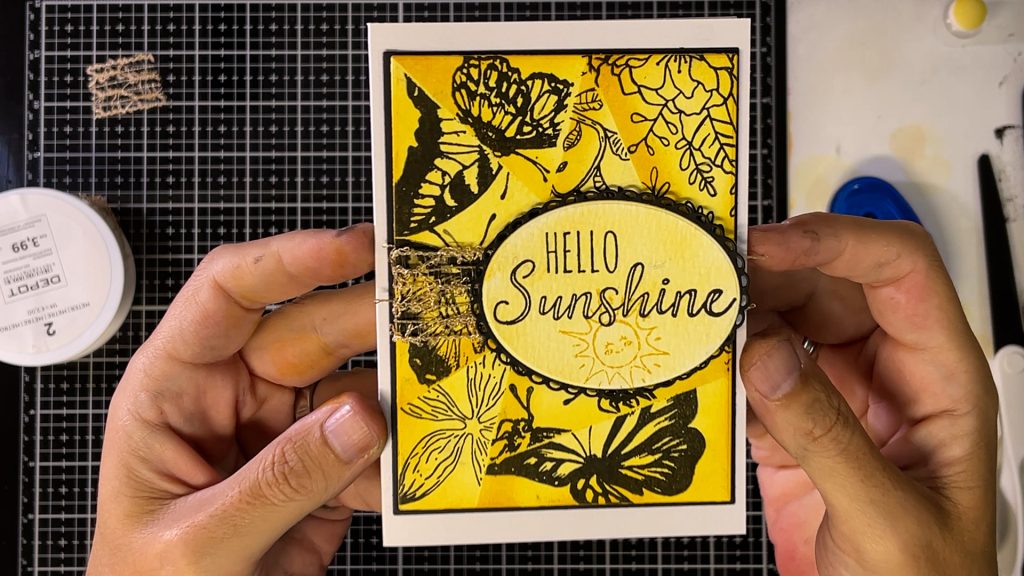
With my Sizzix Bigshot I cut out two ovals using the Gina K Master layouts 1 die cuts. I did not want this to be stark white. So I used what was left on my blending brush to give it a wash of color and stuck it on the black back layer. Stamped it with Hello Sunshine and a little smiling sun. And simple as that, my sentiment was done!

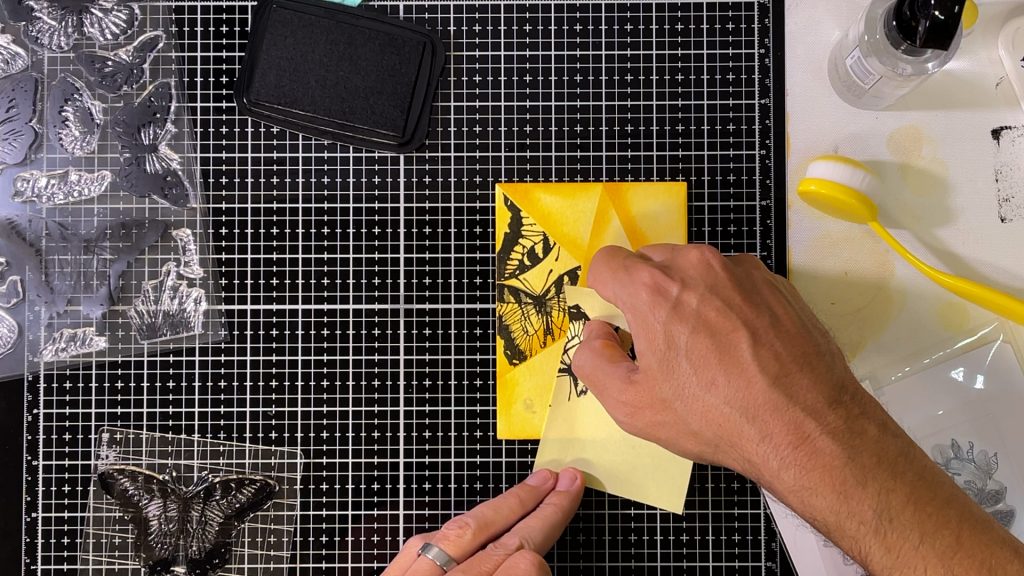
Then the fun begins. You can use whatever stamps you like to fill in the shapes on your card. Just stamp away! I chose a mix of butterflies and foliage. Now be sure to use some kind of masking paper to mask of the area you don’t want to stamp. For me post-it notes are the best option as that sticks nicely and keeps my hands free to stamp.
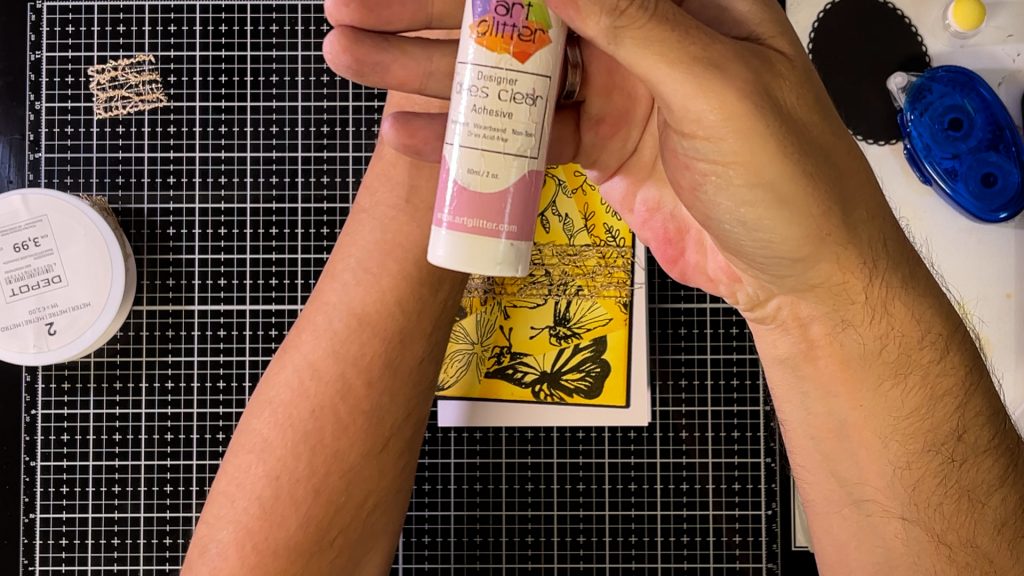
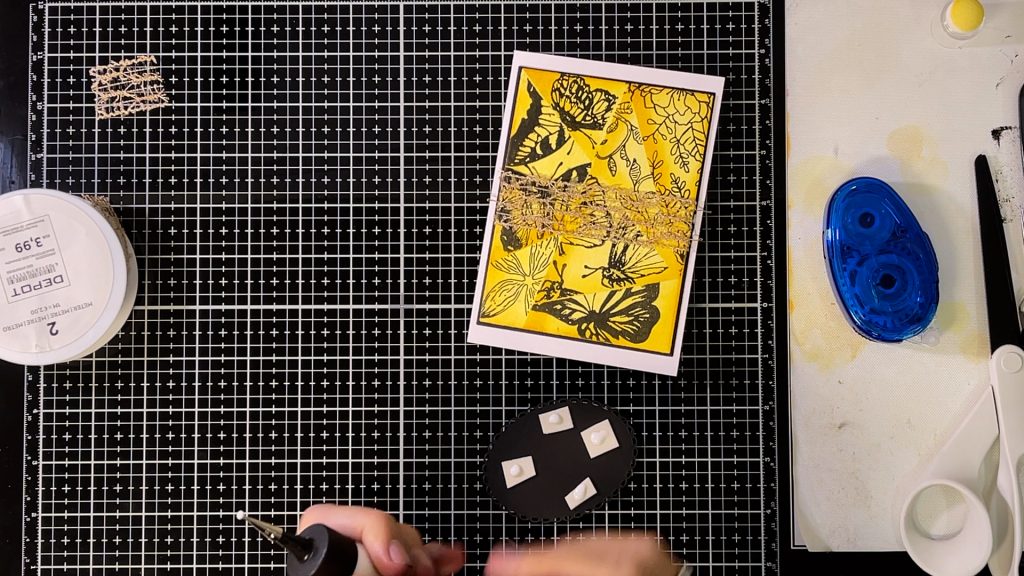
When done with stamping it’s time to put the card together. With the use of some ribbon, glue, and foam tape this was a piece of cake. (Ok now I want a piece of cake ;)) the ribbon also nicely covers up the boo boo I made with the first butterfly I stamped.

All in all, a simple technique to do and soooo much fun. I love how this card came out!
Please head over to my YouTube channel for a full explanation of how I made this card.
If you made it this far: thanks for visiting my blog. I will be back with another one soon!
Devid
Products used:
- Gina K master layouts 1 https://ginakdesigns.com/product/master-layouts-dies/?v=796834e7a283
- Gina K beautiful Butterflies https://ginakdesigns.com/product/clear-stamps-beautiful-butterflies/?v=796834e7a283
- Tonic Studio’s Dainty Daisy’s https://nl.tonic-studios.co.uk/products/tonic-studios-essentials-dainty-daisies-stamp-set-2435e
- Sizzix Hello Sunshine 663602 https://www.sizzix.com/663602/sizzix-clear-stamps-hello-sunshine
- Sizzix sticky grid sheets https://www.sizzix.com/663534/sizzix-accessory-sticky-grid-sheets-2-5-8-x-4-5-8-5-pack-inspired-by-tim-holtz
- Sizzix big shot fold away https://www.sizzix.com/662500/sizzix-big-shot-foldaway-machine-only-white-gray
- Ranger distress ink Mustard seedhttps://rangerink.com/collections/dye-ink-pads-1/products/tim-holtz-distress-ink-pad-mustard-seed
- Ranger Distress ink Fossilized Amber https://rangerink.com/products/tim-holtz-distress-ink-pad-fossilized-amber?variant=47034144277
- Ranger Tim Holtz water color paper https://rangerink.com/collections/surfaces/products/tim-holtz-distress-watercolor-cardstock-8-5-x-11-10pk?variant=47308702485
- Versafine black onyx http://www.tsukineko.co.jp/english/detail/versafine/index.html
- Black cardstock 216 grm/80lb https://www.vaessen-creative.com/nl/florence-cardstock-smooth-30-5×30-5cm-black?queryID=08c8f9a301ae75a40b0d7248df135279&objectID=63617&indexName=magento2_nl_products
- Taylored expressions blending brushes https://www.tayloredexpressions.com/blender-brushes/
- Lawn Fawn – Stamp Shammy https://www.lawnfawn.com/products/stamp-shammy
- Mini Misti https://www.mysweetpetunia.com/NEW-MINI-MISTI-p/new-mini-misti.htm
- Scotch ATG https://www.amazon.com/Scotch-Advanced-Glider-4-Inch-36-Yard/dp/B00409NNYM
- Art Glitter glue https://www.artglitter.com/collections/designerdriesclearadhesive
- 3M scotch foam tape https://www.3mnederland.nl/3M/nl_NL/p/d/b40067228/