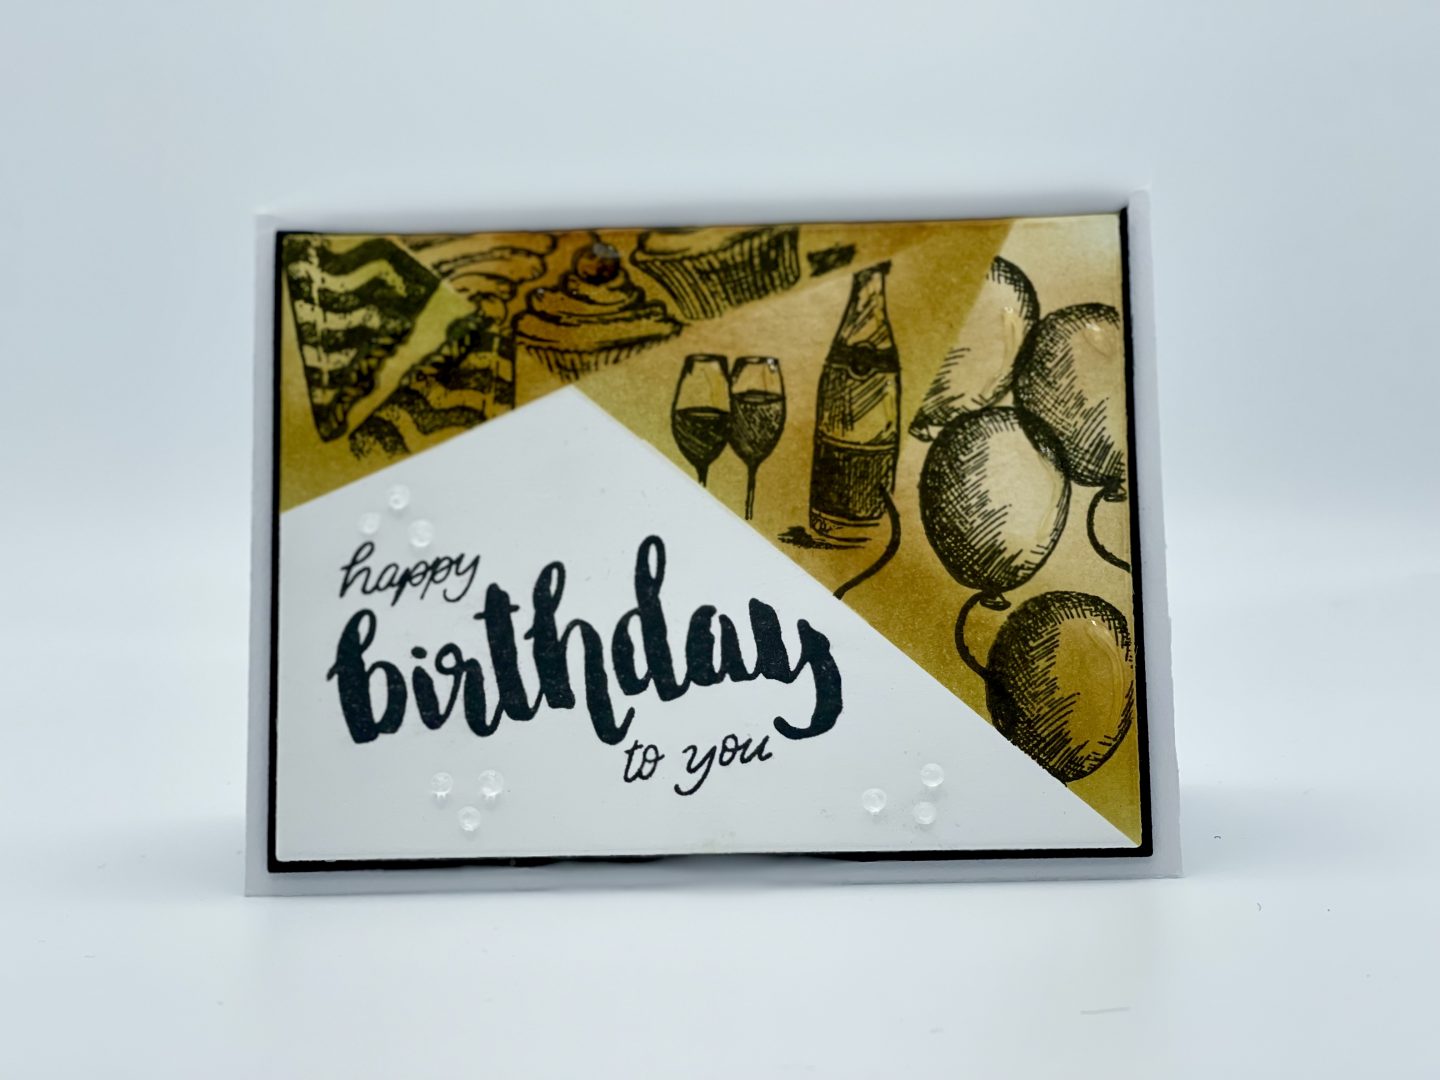
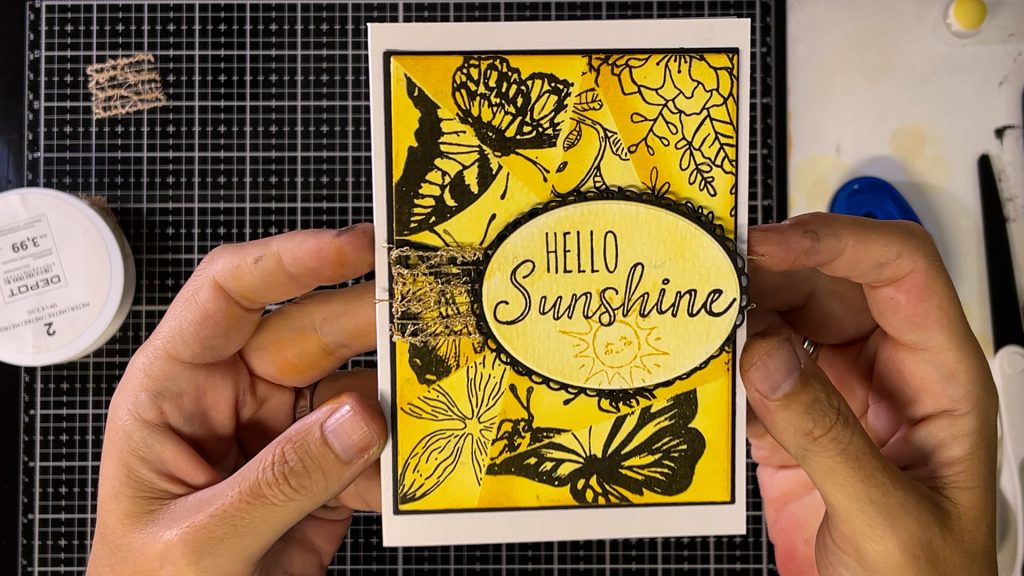
Hello fellow crafters! Welcome to my blog. For this card I took inspiration from a couple of different artists but this is mainly inspired by the lovely Gina K. The retiform technique is so much fun to do, quite easy and it gives you a unique card. What is retiform? Retiform card is composed of crossing lines and negative space. And by all means, this is not a new technique. If you search the Internet, you can find many examples. I got inspired to do this beautiful card and I’m happy to share the result with you.
At the end of this blog you will find a full list of supplies that I used to make this beautiful card.
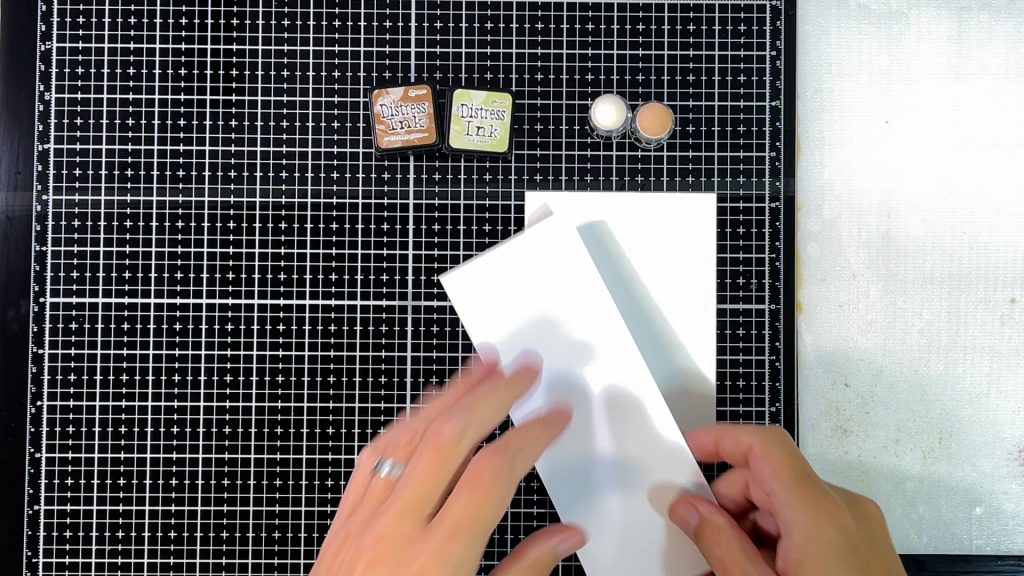
With my Sizzix Bigshot I cut out the white card panel and the black mat using the Gina K Master layouts 1 die cuts. I love the master layouts and you will see them coming back to my blog on a regular base.
To start the retiform effect I took a piece of scrap paper to mask off where I wanted the first line. Then I took a finger dauber to start the line.
Heavy on the edge with the masking paper and then blended it out, making sure the lines were crossing and giving me different shapes to stamp in to. Later on I changed to post-it notes to mask of the areas. This gave me a bit more freedom as this sticks to the paper without damaging it.
While doing this I build up the colors using a blending brush and finger dauber. I really love the vintage feel of these two inks.

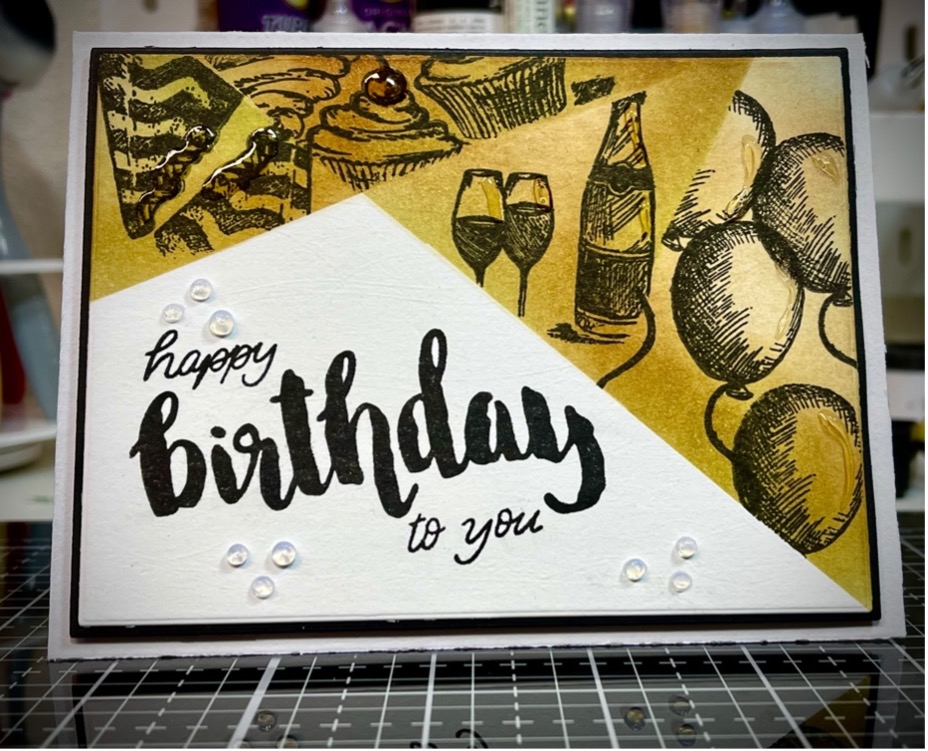
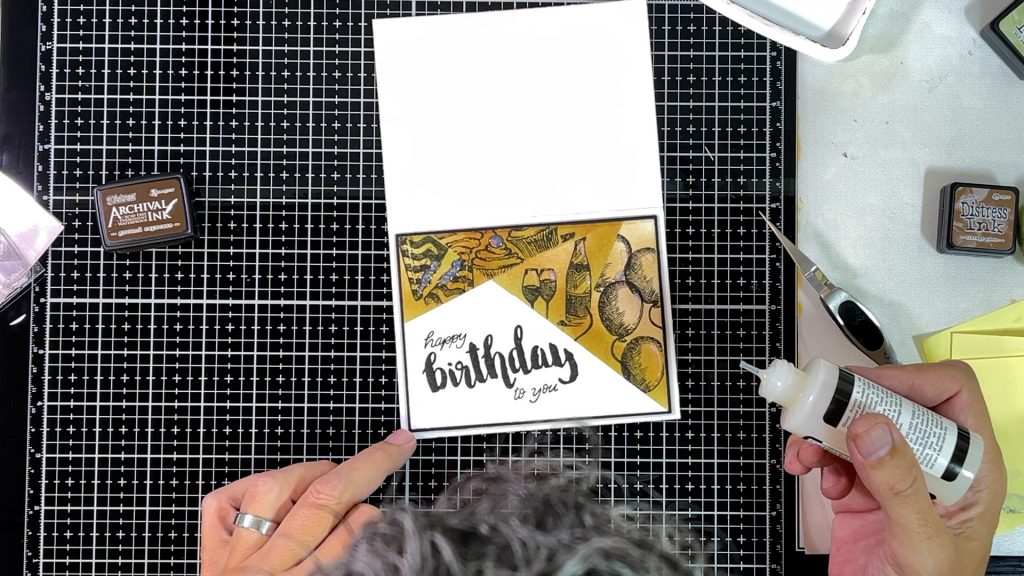
Using Post-it notes again I masked of the triangles that were created and started stamping. Now you can really see the card come together. This masking part is very important as the crisp lines we create here make the retiform effect.
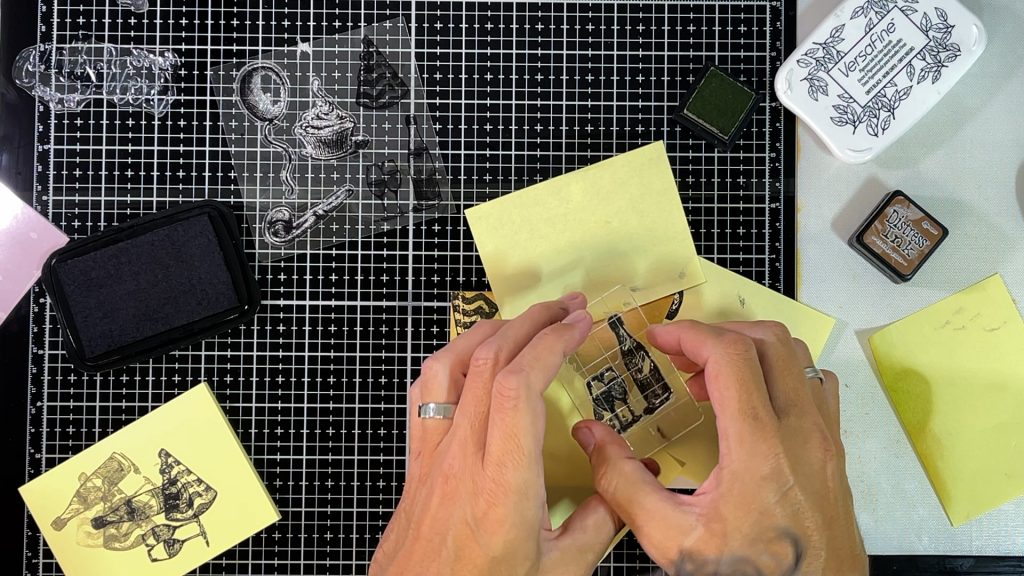
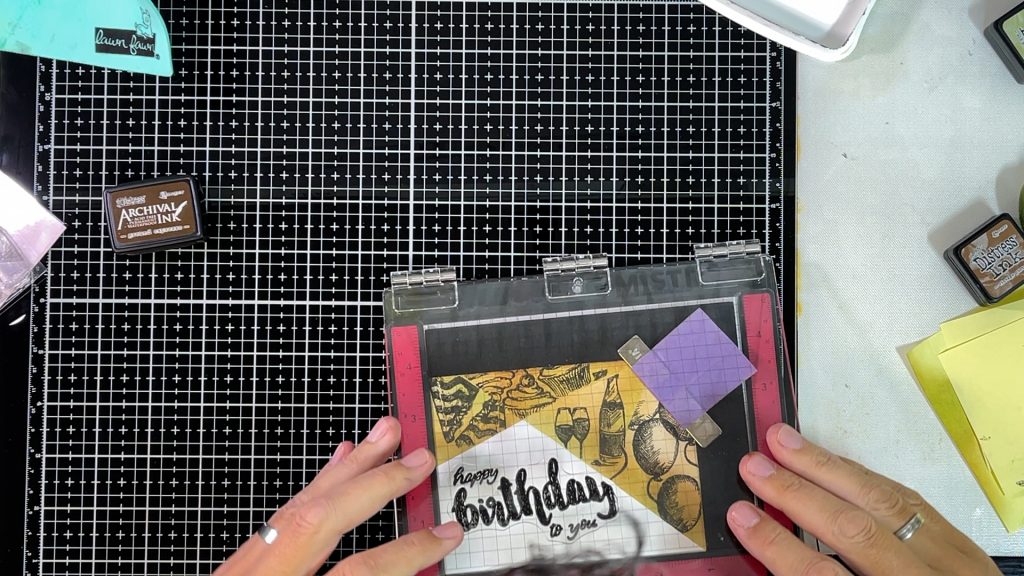
When all the triangles were filled in it was time for the sentiment. Since I already put a lot of time and effort in this card so far I did not want to take any risk. In comes the Mini Misti! This big and bold sentiment finishes this card of nicely.
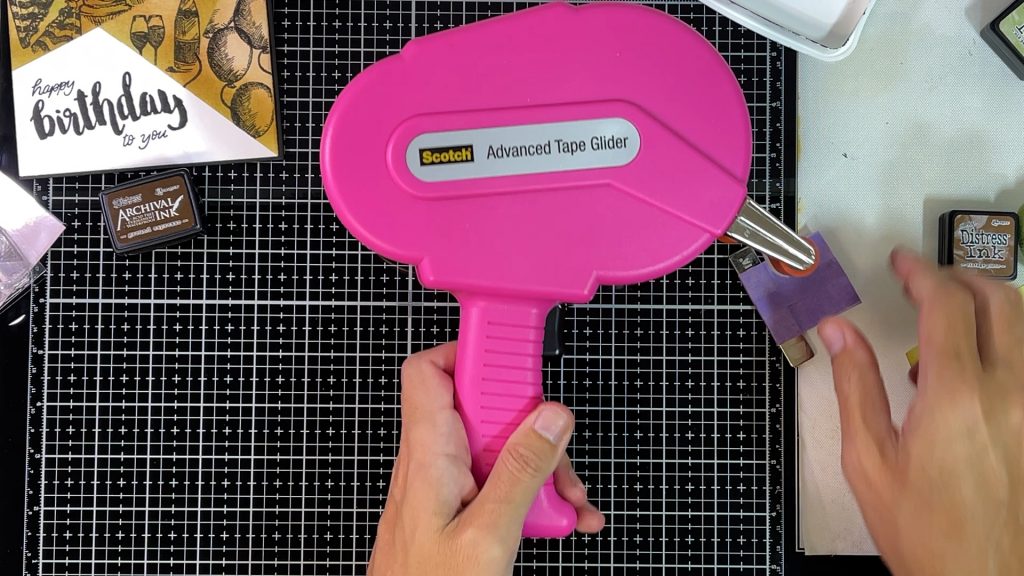
Now it’s time to put the card together. With use of my ATG gun (love it) the front panel is attached to the black mat layer.
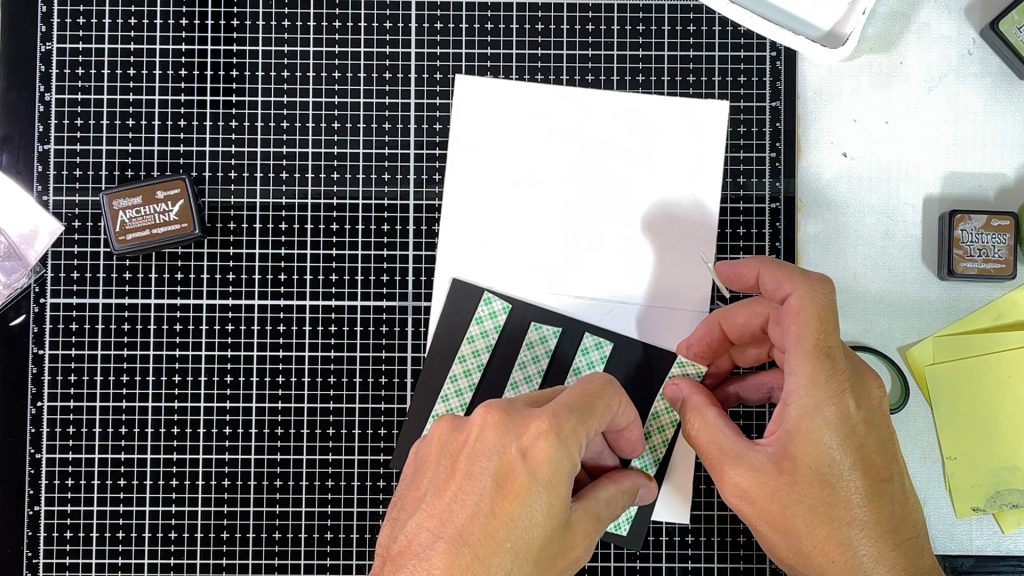
Now to give this card some dimension I used foam tape to attach it to my card base. This stuff makes it so quick and easy and I don’t have to worry it comes of in the mail. When it’s on there, it stays there.
To finish it off I took some Ranger glossy accents to highlight and Nuvo cristal drops to bring this card home.
Keep an eye out for my next blog where we will take this technique one step further.
Please head over to my YouTube channel for a full explanation of how I made this card.
Now if you read it till here: thanks for visiting my blog. I will be back with another one soon!
Devid
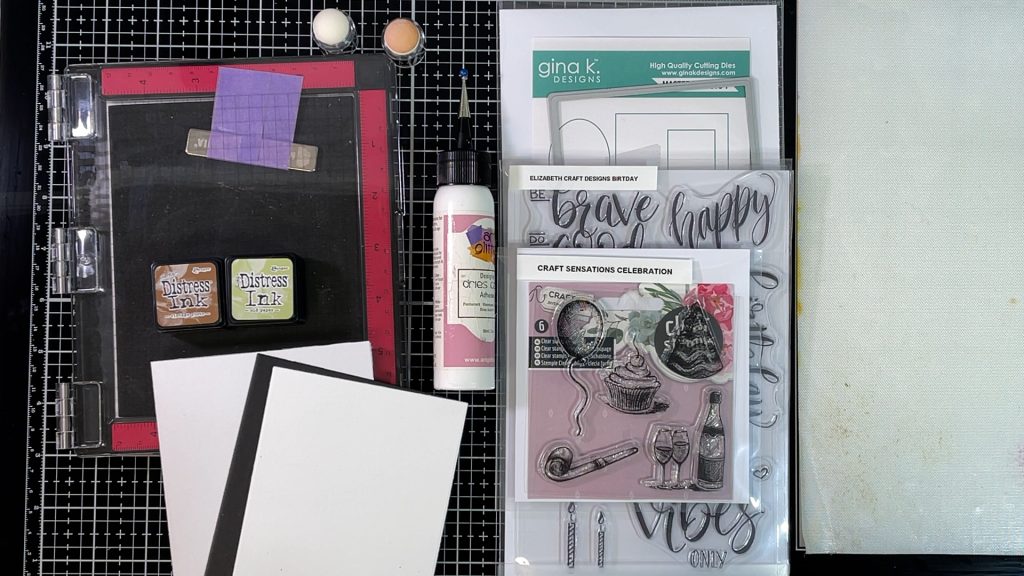
Products used:
- Gina K master layouts 1 https://ginakdesigns.com/product/master-layouts-dies/?v=796834e7a283
- Craft Sensations Celebration stamp set https://www.creativecraftgroup.com/webshop
- Elizabeth Craft Design birthday https://www.elizabethcraftdesigns.com/products/birthday
- Sizzix sticky grid sheets https://www.sizzix.com/663534/sizzix-accessory-sticky-grid-sheets-2-5-8-x-4-5-8-5-pack-inspired-by-tim-holtz
- Sizzix big shot fold away https://www.sizzix.com/662500/sizzix-big-shot-foldaway-machine-only-white-gray
- Ranger distress ink Old paper https://rangerink.com/products/tim-holtz-distress-mini-ink-pads-old-paper
- Ranger Distress ink Vintage Photo https://rangerink.com/products/tim-holtz-distress-ink-pad-vintage-photo
- Ranger Tim Holtz water color paper https://rangerink.com/collections/surfaces/products/tim-holtz-distress-watercolor-cardstock-8-5-x-11-10pk?variant=47308702485
- Ranger Glossy accents https://rangerink.com/products/ranger-glossy-accents-2oz
- Nuvo Crystal drops morning dew https://www.tonic-studios.com/products/nuvo-crystal-drops-morning-dew-677n
- Versafine black onyx http://www.tsukineko.co.jp/english/detail/versafine/index.html
- Black cardstock 216 grm/80lb https://www.vaessen-creative.com/nl/florence-cardstock-smooth-30-5×30-5cm-black?queryID=08c8f9a301ae75a40b0d7248df135279&objectID=63617&indexName=magento2_nl_products
- Taylored expressions blending brushes https://www.tayloredexpressions.com/blender-brushes/
- Lawn Fawn – Stamp Shammy https://www.lawnfawn.com/products/stamp-shammy
- Mini Misti https://www.mysweetpetunia.com/NEW-MINI-MISTI-p/new-mini-misti.htm
- Scotch ATG https://www.amazon.com/Scotch-Advanced-Glider-4-Inch-36-Yard/dp/B00409NNYM
- Art Glitter glue https://www.artglitter.com/collections/designerdriesclearadhesive
- 3M scotch foam tape https://www.3mnederland.nl/3M/nl_NL/p/d/b40067228/