My name is Devid, and I am honored to be a new Band Ambassador for the Planner Essentials collection. It is a great collection, and I am completely hooked. This is my first ever blogpost here for Elizabeth Craft Designs and I am super excited!
In this blog I am working with the fantastic new Retro Bus Special, in this case I am making a mini book.
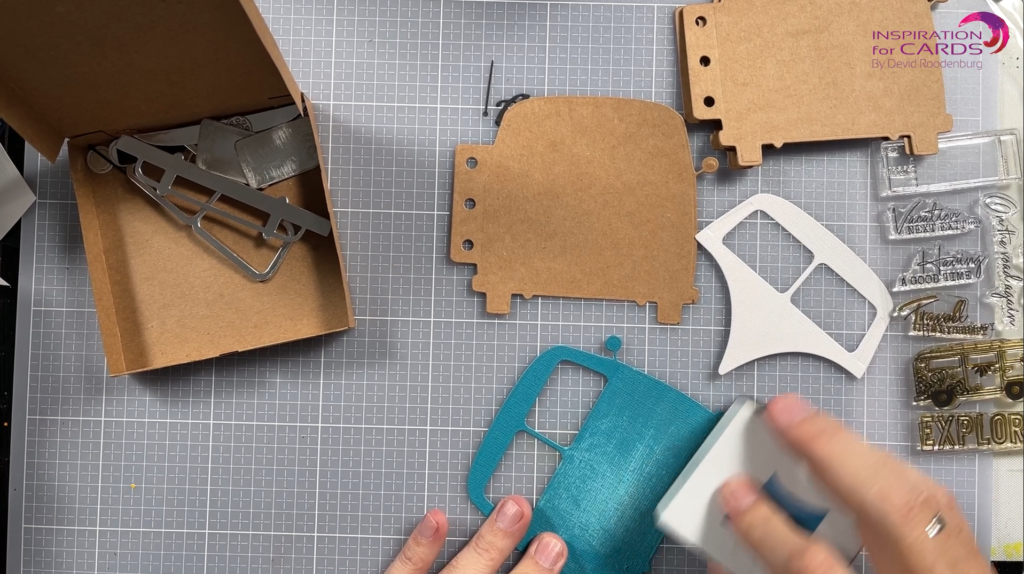
Step 1: Die cut all the pieces you need out of the cardstock.
Step 2: I used cardstock with a colored core. Using a sanding block, I distressed the paper exposing the lighter core.
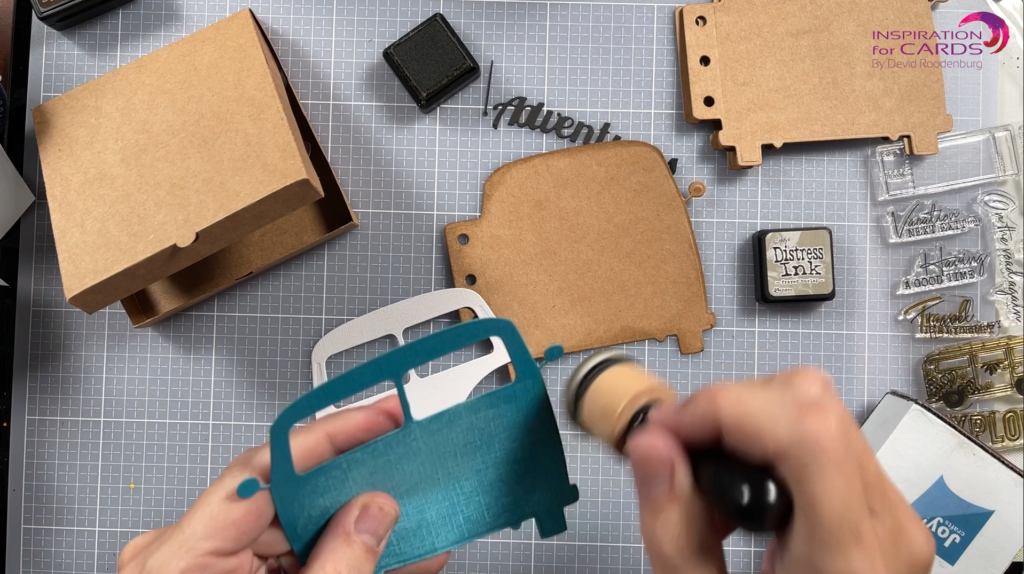
Step 3: Using Distress ink Frayed Burlap to lightly color the edges of the main parts. This not only gives it a vintage look but also helps to create depth. Always remember: light brings forward, dark creates depth.
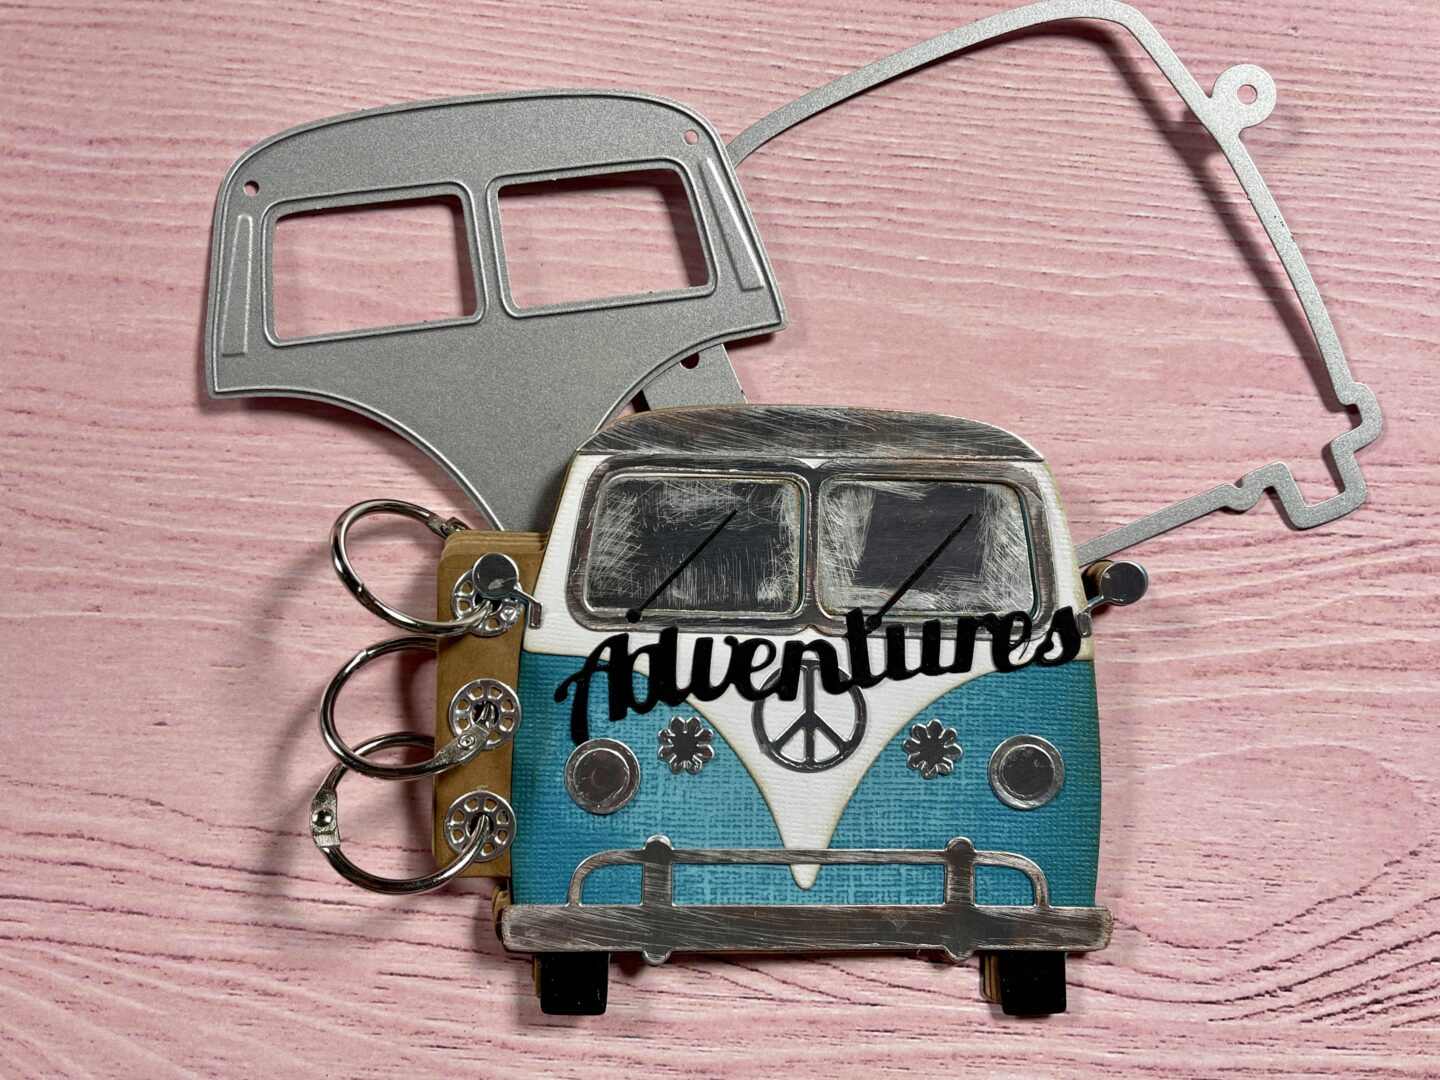
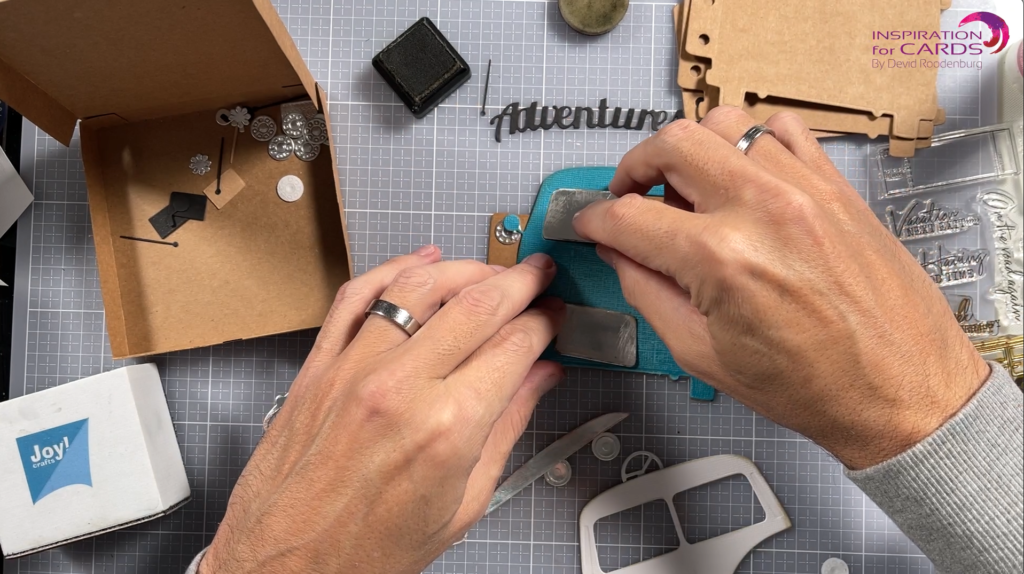
Step 4: Distress the metallic parts with a sanding block and give it a rusty look using a rose gold gilding wax.
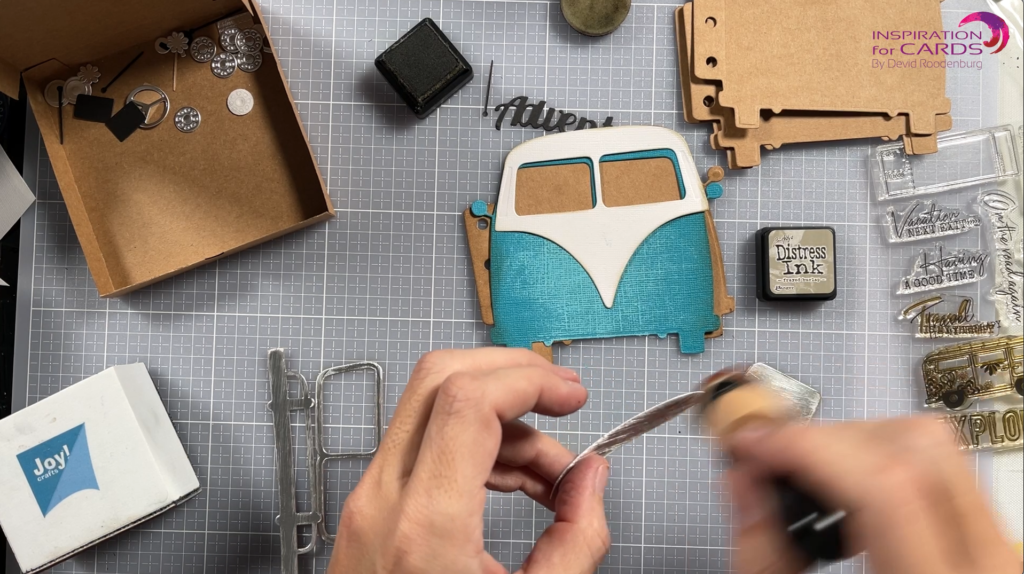
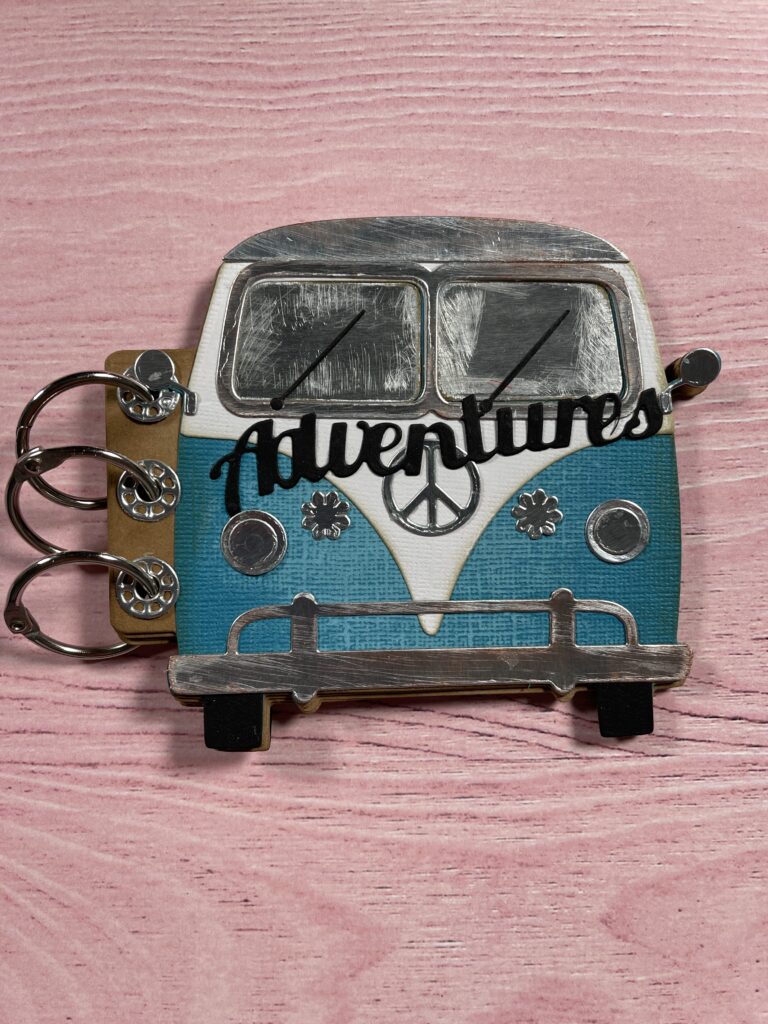
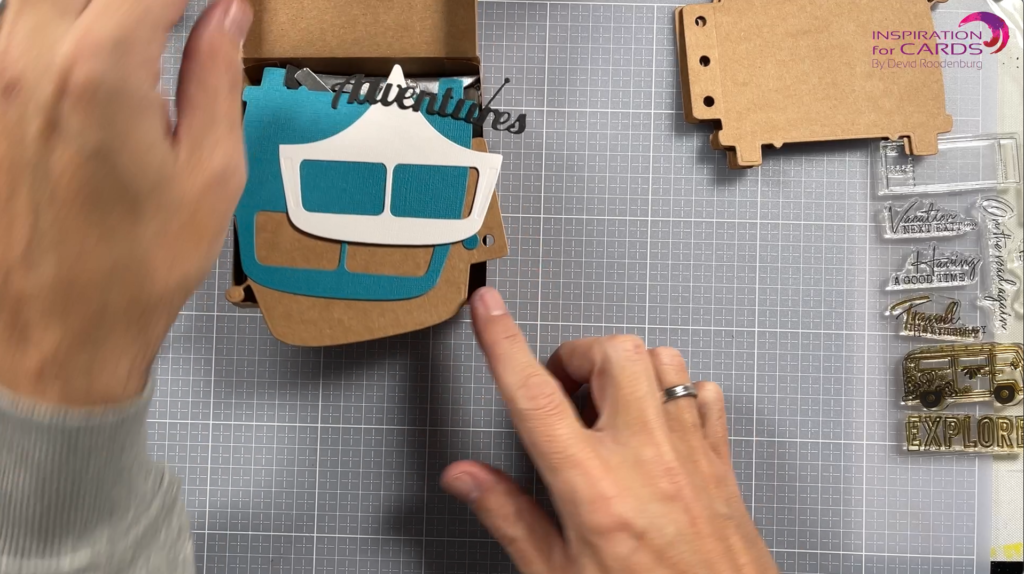
Step 5: assemble the cover page in this order: base page, base layer, cover layer, insert windows if you made these, add tires and finish with bumper, head lights, mirrors and other embellishments.
I hope you give this fantastic set a go and enjoy it as much as I did. Thank you for reading my process and see you for the next one! All products I used are listed below.
ECD Retro Bus Special kit
ECD Clear Double sided adhesive
Core-dinations cardstock
IDEA-OLOGY TIM HOLTZ PAPER STASH 8″ X 8″ – METALLIC
Ranger Distress Ink Frayed Burlap
COOSA CRAFTS GILDING WAX – BRONZE
Florence Cardstock Kraft 200 gr.
Florence colored cardstock 216 gr.